
As I mentioned in my profile, I am an Independent Consultant with Thirty-One Gifts and we have catalogs for each season. I always want to find new ways to use my old catalogs because it would be such a shame to waste them. One idea is to drop them off at the doctor's or dentist's office waiting rooms so that they are still working for you even after they are expired. I have done that before, but I thought this was a neat idea too. You can use them for a small hostess gift and card to give to your hostesses at your parties. You could also use them for giveaways. OR you could just use them anytime you need a small gift bag for any purpose and then you have a gift bag that advertises your business for you on the side!
Ok here we go. Materials you will need:

- Thirty-One catalog (you can also use a regular magazine)
- Staple remover
- Measuring tape or ruler
- Glue stick
- Hole punch
- Ribbon of some sort
The first thing you'll need to do is remove the staples from the middle of the catalog so that you can separate the pages.

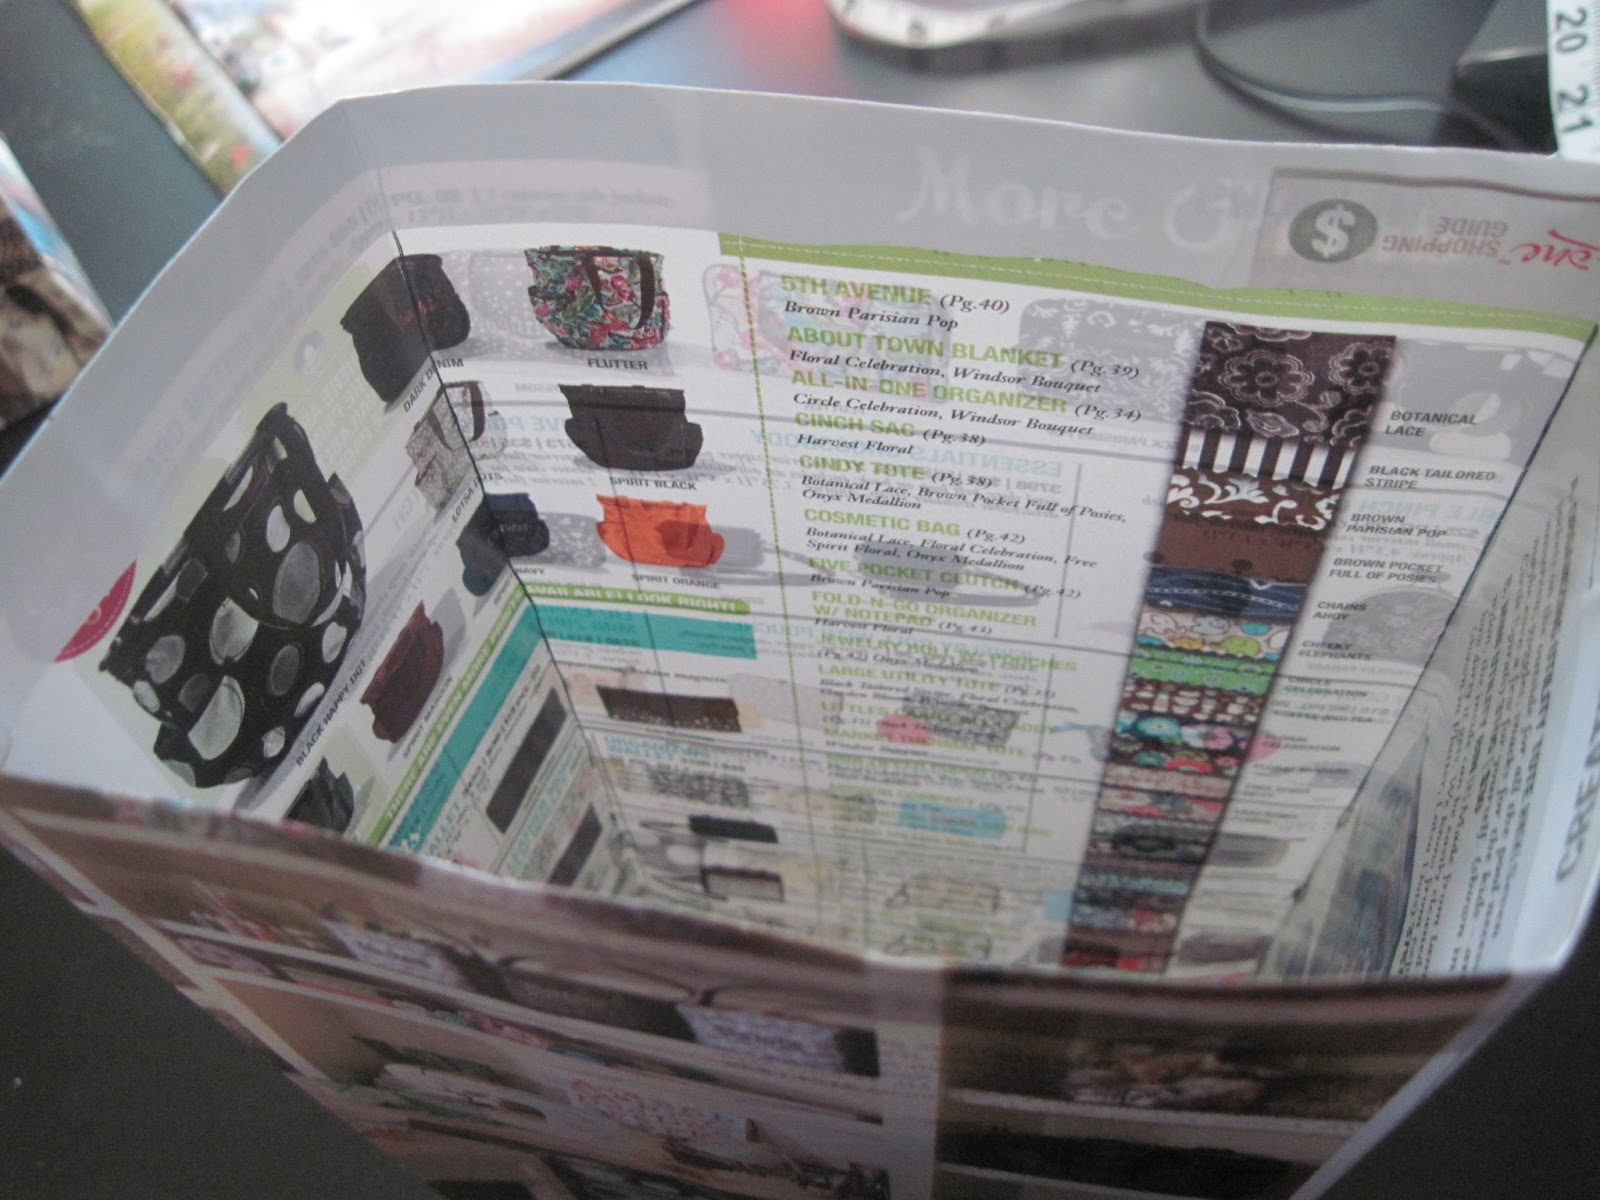
Separate out the page you want to use and place the side that you would like to show on the outside of the bag face down.
 | |
| I want the page that says "Accessory Bags" at the top to be on the outside of the bag so I am placing it face down on the table. |

 |
| From left to right, the folds are made at 3", 5", 3", 5" and then the last fold is whatever is left, about 3/4". |
Next you'll need to fold the bottom and top. The top fold is about 3/4" and the bottom is about 2.5".
 |
| I drew black lines on the folds so you can see it a little bit better, hopefully. |
 |
| See, it makes a tube. |
 |
| See how the flap overlaps? And you've put glue on it so you just need to pinch it to make it stick and you'll have the body of your gift bag. |
 |
| Top flap folded down into the bag |

Then put some glue on the insides of the new triangular flaps you have made so that they will stick to each other and to the bottom of the bag.
 |
| There's the bottom of your bag |

You can also poke your fingers in at the sides a little ways up from the bottom of the bag and crease it so that it can be folded flat and looks more like a gift bag you would buy in the store.


|
| Yay! |
*UPDATE* 9/5/13
I am just amazed at how many views this post has gotten and I so appreciate everyone taking the time to check out my tutorial. I'm glad so many people can use this information, and I love all the comments on how people have made it their own! I'd love to invite you to my Facebook fan page where I post info about my Etsy shop, Sparkle & Pop, as well as other fun info like this, giveaways and more! www.facebook.com/sparkleandpop. You can also find me on Instagram and Pinterest! Thanks again!